

Mining Rig: Learn how to build a mining rig or so-called mining platform with this guide to setting up your mining rig.
The mining rig may appear difficult at first, but it becomes less so as you explore it. In this guide, we’ll go over the fundamentals of a mining rig, such as its components (and who the best manufacturers of these components are), how it works, the best placement ideas, and so on.
Mining Rig Prerequisites
Material selection and budget
You will need some time, money, and a little curiosity…
Do not hesitate to consult the site www.whattomine.com to determine which coin will be the most profitable


The overall cost will depend entirely on how much you want to invest in the rig
The Components
Let’s quickly discover the components you’ll need to build a mining rig.
In general, you will search for these components:
The motherboard
This is one of the main components of your platform. Usually, a motherboard determines the rest of the platform’s components (for compatibility). When choosing a motherboard, always check which graphics cards it works well with.
Graphics card(s)
GPUs are an essential part of your rig. They determine whether your mining rig will be successful or not. The two giant companies that specialize in producing and selling graphics cards are Nvidia and AMD. When choosing your cards, don’t forget to check online if they are adequate for cryptocurrency mining. Remember that a good platform should consist of several GPUs – adjust your purchases accordingly when you want to build a mining rig.
Power supply
The power you need depends on the other components of your rig. If you’re trying to build a beefed-up, supercharged cryptocurrency mining rig, your power supply will need to be tailored to that. However, in most cases, a mid-level power supply will do just fine.
Cooling
This is a very important factor in any mining rig, cooling will ensure that your device is running smoothly and avoiding any type of overheating. Don’t try to save too much money and invest in the best possible hardware – prevention is better than cure.
CPU
A good processor is a must to run the platform properly without major ones.
Frame. A mining rig frame is the last key component you will need (at least as far as the GPU mining rig is concerned). It will represent the frame of your device – there are various choices regarding these frames, depending on your preferences. Of course, you’re definitely going to choose something sturdy to hold the whole machine, rather than a flimsy frame.
Once you have all the parts, let’s move on to the building process.
Build Mining RIG
Step N°1 – The structure
You can make it out of wood or aluminum or directly from a large PC case (or buy it pre-built). The main thing is to start with a rectangle, which you will place at the bottom: motherboard, power supply, and hard disk. On the top floor are the graphics cards. I don’t give measurements voluntarily because each card has specific measurements, so don’t hesitate to take out the tape measure!
The wood has for him its excellent electrical insulation, for lack of being like aluminum nonflammable.
I highly advise you not to fix immediately the crossbar that will be used to support the graphic cards, to adjust it as well as possible, especially once the connections are established.

Step 2 – Installing the hardware on the rig
First, place the motherboard on a base that you have created specially for it, as it will receive the connectors, so it must not move. Screw it into the holes provided for this purpose. No need to put absolutely everything, the 4 corners will suffice.
Note that you will have previously inserted the processor on the motherboard, screwed its original cooling unit, and clipped the RAM bar.

Connect the power supply
You will then have to connect the power supply. I want to emphasize the choice of power supply, it is strongly advised not to skimp on this area of expenditure. Indeed you play the safety of all your equipment in case of overheating, but also the risk of a fire hazard in your home! Because mining means leaving your equipment running 24 hours a day, which will quickly be tested. It is therefore very important not to undersize the power supply. If your 4 card rig consumes 700-800 watts, 1000 watts is a great minimum! It is important to always keep a margin, as well as an eye on the temperatures. Less heat = more longevity. The MSI AfterBurner software will help you to monitor and, if necessary, overclock your graphics cards.
For those who are wondering, count about 150 to 200 watts per card for RX570 and 580 as well as for GTX 1060 to 1070 configured. The new generation should consume less.
The motherboard requires several connections (everything is explained in the manual). You will also need to connect the hard drive to the SATA socket.

Links the graphics cards to the motherboard
Then there is the connection stage, which links the graphics cards to the motherboard and to the power supply via the “risers”. This little object is in the form of a plate with different connectors, usb, molex, SATA and PCI-e. Its purpose is to allow you to move the graphics cards where you want, without having to connect them directly to the motherboard. I would advise you not to try to scratch too much on the first price, otherwise you will have bad surprises.
You have to plug the small part at the end of the USB into the PCI-e slot of your motherboard. Then plug the graphics card into the large PCI slot of the riser (in flashy blue on the pictures). Finally you will need to power your riser, by connecting either a molex or a SATA to your power supply.
Be careful, this does not exempt you from powering the graphics cards as well. Their connector is usually located on top of them, named PCI-E 6 PINS or 8 PINS.

Once this nice little world is correctly connected, you will be able to do your first boot. Some motherboards have an “on/off” button integrated directly on them, others do not. In the second case, you will have to find a push button on the net or in the small electronic store of the corner.
Step 3 – First boot, startup and mining
We are now at the experimental phase! First of all you will have to install your operating system, for simplicity we will start here with Windows, but you can mine with Linux or an OS dedicated to mining such as “Simple Mining”.
Check at this occasion that all your cards are running correctly at the ventilation level, no strange noises? red light? a cable that hangs forgotten? If everything is OK, we can continue!
Once the operating system is installed, finalize the installation of the drivers, Windows 10 does it quite well by itself. Manually force the last drivers of the graphic cards.
The easiest way to test your hardware and see if it works properly in “mining function”, is to install one of the software such as Minergate or NiceHash.

You will need to enter a valid email address, create a password, then insert your BTC address for NiceHash. Minergate pays you according to the currency you mine.

As you can see above, once the software is launched, it will offer you different coins to mine on Minergate on the right, allowing you to be paid directly in the selected currency.
NiceHash on the left will pay you a certain amount in Bitcoin every day. Forecasts are made and a graph appears in the application.

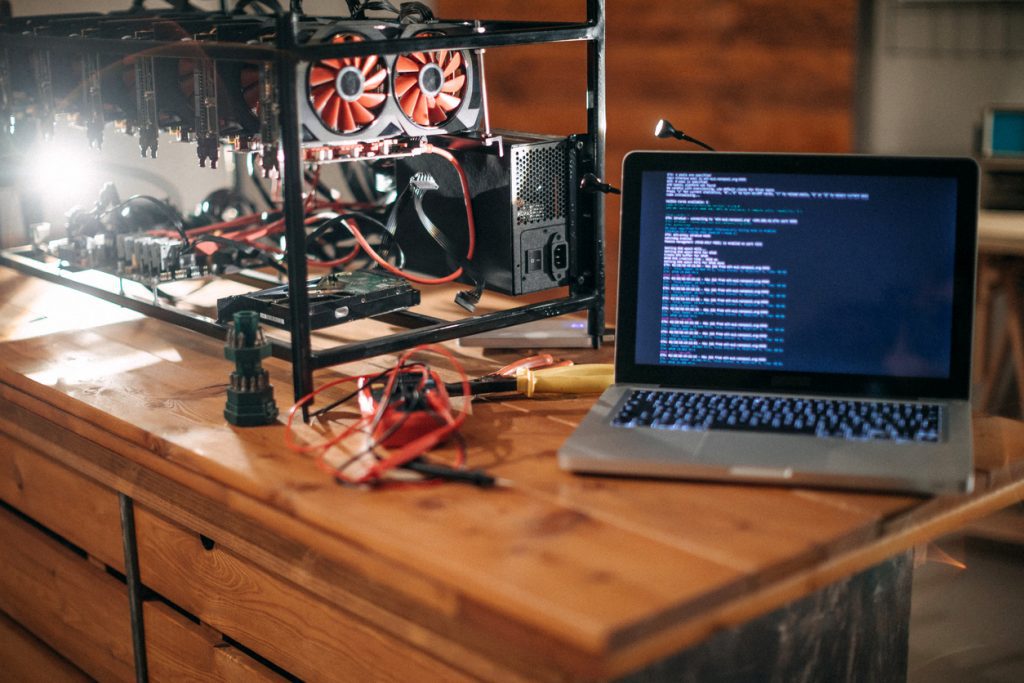
For those who want to go further, there are more archaic miners, which work just as well, however you will have to configure them manually via MS-DOS command prompts.
You can see above the calculations done via CCminer or ETHminer.

for beginners you can check this article to see the easiest ways to mine : Super easy way to start crypto mining for any pc
Pro TIPS
If you feel like adding more cards at this stage, you should increase the virtual memory if possible around 16GB allocated by Windows, but also unlock, if the motherboard is not specifically designed for mining, all the pci-express lines in the BIOS. The option can take different names, I invite you to refer to the documentation of your motherboard.
In the case of mining on Ethereum (Ethash algorithm), you will also try to boost the clock frequency of the memory of your graphics cards, the processor frequency for its part does not matter much.

